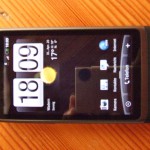
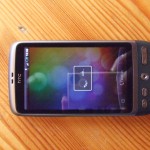
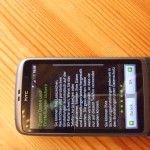
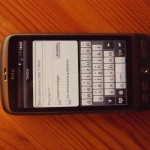
Finally I got my HTC Desire from T-Mobile. First of all YEEEEHHHAAA! And second: NICE! I already love this device! Most of all because you can do all the nice things the iPhone can’t do and still do the things the iPhone can ;o). summa summarum its A LOT better then ANY phone I’ve seen so far. It has a few downsides though. So stay tuned because here comes my report:
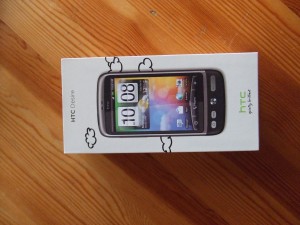
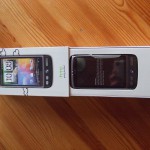
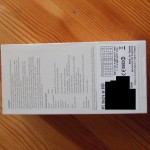
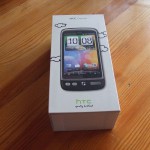
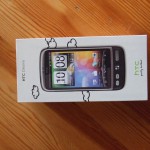
Ok there I was. Sitting in front of this really neat looking HTC Package you can see below.
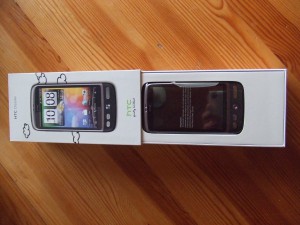
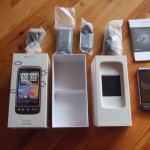
Honest to good I wanted to rip it open and begin playing. But I had promised a few people to write a review about this beauty so I had to retain myself and document all the steps. The Package is made of board and painted with Soy Ink. So its recyclable all the way (but who would recycle such a trophy right?). Is closed on the upper side and only open downwards where its sealed with a paper strip. tearing this strip and gently pushing the package reveals the real thing.
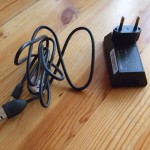
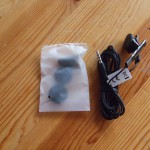
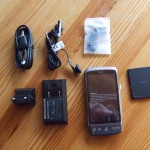
Like with the iPhone Package the HTC Team stacked the Phone above all the other stuff. Right beneath the Phone you’ll find the (quite small) Battery and beneath that the headphone, some instruction manual and the changer with cable. Painfully missed is a docking station which wouldn’t be to much to ask for a phone in this price category!
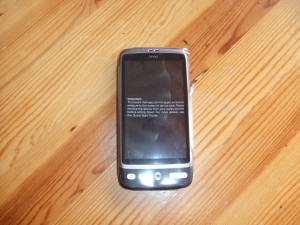
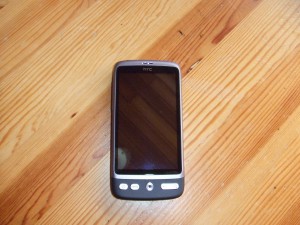
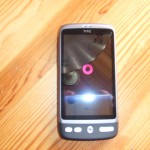
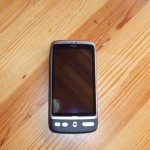
The Phone itself is wrapped into a plastic film to prevent any scratches and to inform the user that this is a sensitive piece of technology and not some junk you put into you’d trousers (They don’t phrased it that way BUT I DO!). The front looks very nice. The brown is not quite my color but I definitely is aesthetic and robust. For a former iPhone user the Keys on the front are somewhat irritating but I have to tell you I love them now I got used to it. In fact if I used my iPhone now to pull out some data I’m confused where those damn buttons are :-P. Also on the front is the nice optical “Trackball” which is far superior to the plastic crap some other Smartphone have (and far less crappy looking). The buttons glow white if the phone is turned on which also look very cool. Finally the HTC Desire has a signal LED (which can’t be seen if its not lit) on the upper right of the front. Very handy!
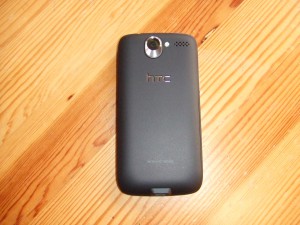
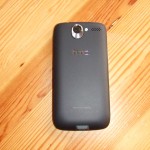
The Back of the Phone is made of plastic (I guess thats simply to get better reception or get reception at all) and coated with some kind of rubber stuff which makes it quite sticky (the good way). Right underneath the Camera outlet and the LED flash there’s a nice silver HTC logo laid into the Back. On the right side of the Camera outlet you can see the holes for the speaker. A “WITH HTC SENSE” Logo is printed on the lower part of the Back Cover.
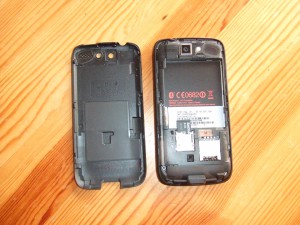
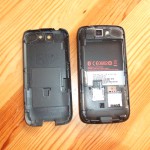
To bring the phone to live you first need to pull of the back cover. This part is a bit strange because HTC used brackets made of plastic to hold the back cover in place. Considering this is the part you’ll have to remove if you want to change your SIM or SD Card that seems to be a bit inept. Time will tell if that was a good choice. Behind the cover you’ll find the “usual” stuff: A bay for the battery (unlike the iPhone this Phone has one that can be changed), a slot for your SIM and a slot for a (Micro SD) Card up to 32GB (in the Phone there already is a 4GB Card).
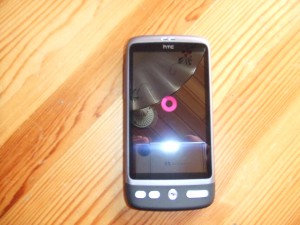
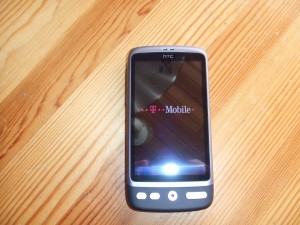
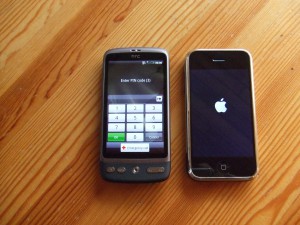
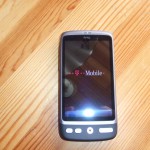
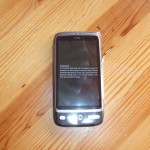
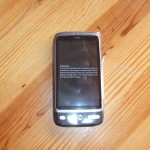
You can see the Micro SD Card looking out (because I made it to :-P). Finally Pushing that Power Button (simultaneously with my iPhone because I wanted to see which is faster :-P) at first gets you a red circle (which somewhat looks out of place), then a white in green HTC logo (which I was to slow to photograph) and finally the carrier logo if the Phone is branded (T-Mobile in my case). All this goes without playing any sound (Which is nice because the T-Mobile Slogan on other phone is loud and unbearable).
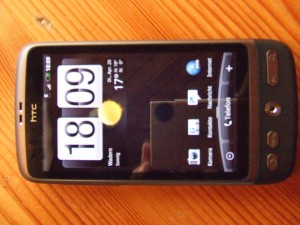
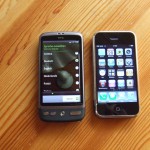
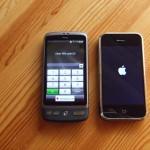
BTW. the Reflections you can see are a Lamp and me trying to avoid being seen on my Desire :-P. You will see a lot of those on the next pictures. Making those Pictures I thougth the reflections might have a bad influence on the visibility of the Display itself. So far I had no real Problems (I wasn’t outside in the sun yet though). After a very short bootup phase (which I guess was even slowed by the T-Mobile Logo) the Desire gave the iPhone the Bird for the first time. While the iPhone was still merrily showing the Apple Logo the Desire was ready to rock.
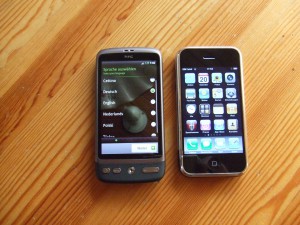
To be completely honest the Desire IS very fast but the iPhone is one of the slowest booting Phone I’ve seen so far. So no real surprise here. After the iPhone finally catches up (it took some time) it was time for the first display comparison. In this category the iPhone has absolutely not the sligthes chance. Sure it an iPhone 1G but the Desire will even beat the next Gen. iPhone I tell you. The Display is very sharp. the contrast is amazing and the colors a superb.
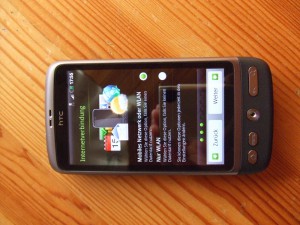
As you can see the first thing the Desire wants to know from you is what language you speak. This was a rather easy question to answer ;o). Next step is a short intro to the on screen keyboard (which is roughly the same as the iPhone only with REAL text recognition and not that pseudo stuff Apple wants to sell its customers). If you want to see what that looks like see the gallery at the end (I skipped those pictures here). Next question was whether I want to use W-Lan and Carrier Internet or W-Lan only. Very important if you don’t have a data flat. Most Apps will eat your bank account for breakfast if you have not flat and select carrier here.
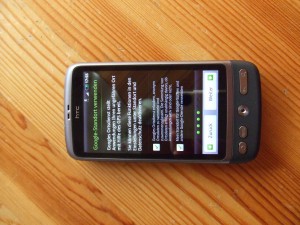
After you made that choice you get to choose whether or not Google can access you current location for search stuff. I said yes here (you can kill me later). If you’re a cautious person you might rather disallow this kind of stuff. Google might send you the Google Toilet otherwise :-P.
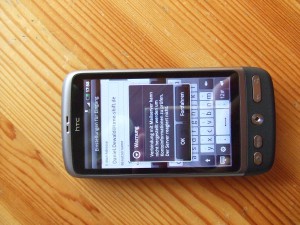
Sold you soul? Fine on with the setup ;o). And here we come to the first (and worst) drawback of the HTC Desire. Its Mail Client. For those of you who put all you mail into one folder, catch them via POP3 and don’t use any SSL stuff with you own CA this is no Problem. Unfortunately I have my own Mail Server which uses a certificate right out of my own CA. The HTC Client does NOT support this (yet?)! And Android does not support importing ones own CA into the Certificate Store of the Phone (and probably never will be). There are basically 4 Solutions to this: Don’t use SSL (NO WAY!! Sending unencrypted passwords through carrier nets? Am I crazy??), Buy a public certificate (Not only expensive but also breaks th concept of my own CA so NO!), Use another Mail Client (I’m tempted to do that but I want SENSE!) or root the Phone and import the CA so that all Apps are happy (Exactly what I will do once its possible). If you try to connect to you server and it just does NOTHING you might have the problem described above. As I see a solution to this problem it doesn’t scare my (that much) at the moment.
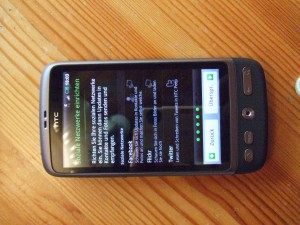
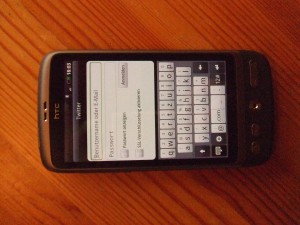
But right down comes Problem number 2. The IMAP functionality of this E-Mail Client is crappy. It shows mails alright but only one Folder at a time. No hierarchical view whatsoever. For complex folder schema’s like with my IMAP account this is bad. You can press Menu and switch to another folder but come on… is that the best you can do HTC? All the other Sense stuff is so freaking nice and then this? Do they think IMAP is not used? The certainly never worked in a company then :-P. Next up is the setup of Flickr, Facebook and Twitter. Since I only use the latter I was done quickly.
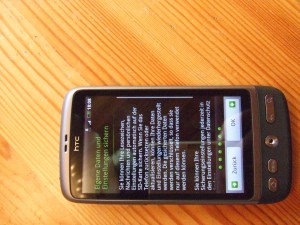
Thats about it. The Desire asks you if you want to save you personal Infos to the SD Card at the end of the setup. If you reset you phone you can rebuild some stuff from there. A nice feature but full backups would be much more welcome. Since Stuff like SMS, MMS and App data is much more sensitive then my Twitter Setup or my E-Mail Account Data (At least to me).
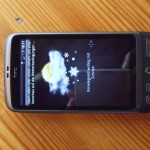
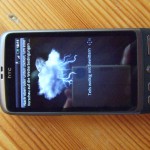
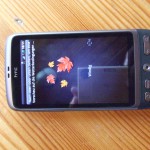
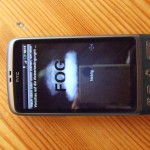
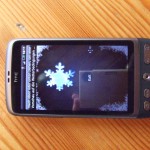
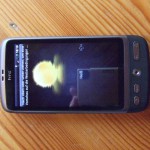
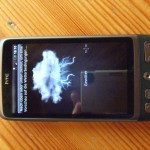
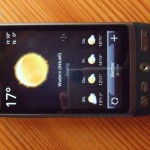
Since this is only meant as a short Intro to the HTC Desire I won’t go into much more detail about all the stuff the HTC Desire is capable of (because its A LOT!) but I’ll sum up a few quick nice features I found in my first few minutes playing around with the desire. First of all the weather widget. This is about the first thing you’ll see anyway because it’s on the main Screen (If you haven’t changed that). Its neat, its animated and whats probably the best of it: its using www.accuweather.com as weather source which is (in my opinion) one of the best (if not THE best) source for weather data in the Internet (In th gallery below there are some pictures of the weather animations).
Second best: You’ve got 7 Screens (not like normally in Android only 5) ready to be configured by YOU (and not Apple :-P) in ANY way you want. You can place widgets on them (for every App that has one) or links to Apps or even Shortcuts to stuff (like websites or even Telephone numbers). You can place them gridwise or in a chaotic way if you want. Thats the freedom you get if the Constructor of you Phone LIKES you and wants you to ENJOY using the phone. And doesn’t want you soul :-P.
Third best: the Desire has POWER like a Horse. Because of this I can do a lot of very nice stuff like animated Backrounds or FLASH (Hear that Steve.. FLASH!) in a very smooth way without interrupting anything thats running alongside. Yea you heard right. Like any Android phone the Desire can run as many Apps parallel as you wish (as long as the CPU can handle them). I’d consider installing an App Killer though so that you can kill Apps that don’t have an exit Button. Saves Ram ;o). You can simply switch between the task by holding down the Home Key.
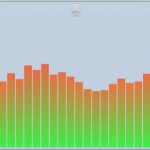
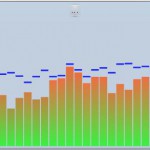
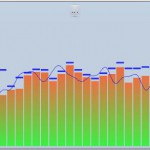
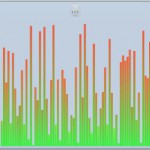
One also very cool feature is the Power meter. I’m not sure if other Android phones have those but the Desire tells you exactly how many power every part of the System consumes and what App does what percentage to it. It even tells you what Function (like IO, W-Lan etc) is responsible for that amount of power. I liked that very much.
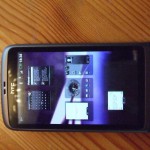
A nice feature to mention is also the Screen overview HTC sprung for its Desire. You can simply press the Home Button on you Primary Screen or “Zoom out” of any Screen and you see a nice overview of all you nice little Screens. Makes working even faster ;o).
And last but not least the HTC Desire has a very cool way to handle its Lock. It doesn’t ask you for a 4 digit key or a long password like most Phones do but for a Pattern you have to enter. It shows you 9 Dots you can connect (or not connect) on any pattern thats memorable to you. If you want to unlock you phone you simply have to repeat that pattern and you’re in. Very secure I suppose and much easier to remember (and harder to spy out).
I could go on and on and on about all the nice features of the Desire but somehow I guess I’d fill my websites HDD before I’m done. I’m still in the learning phase with this Phone and constantly finding new features and gimmicks though. At the moment I’m trying to get all the Data from my iPhone to the Desire (and I’m quite successful). I even found a way (with some own programming) to transfer all my SMS to my new Phone. This (as most parts) is only possible because the phone is so open and flexible in handling stuff. If anyone needs the same procedure (iPhone -> Desire) write me an E-Mail. I’m pretty sure I can give some aid. Thats about it for now. I hope you enjoyed my short preview. If you’ve got any questions / comments just write me a quick comment and I’ll make sure to answer if I can.
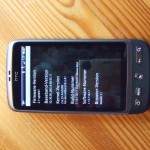
- System Information
- Screen Overview HTC Desire
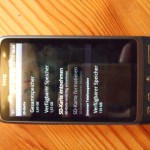
- Space Information
- Pattern Unlocking HTC Desire
- Android Power Meter Extended
- Android Power Meter
- USB Connection Selection
- G-Sensor Calibration
- Animated Backgrounds
- Customise any Screen on you Desire
- Windshield Wiper Demo
- Snow Weather Demo
- Clouds Weather Demo
- Windy Weather Demo
- Foggy Weather Demo
- Cold Weather Demo
- Hot Weather Demo
- Thunderstorm Demo Weather
- Weather Forcast
- Weather widget HTC Desire
- HTC Desire Screen Startup
- Save personal Data HTC Desire
- Setup Twitter HTC Desire
- Setup Friends Stream HTC Desire
- HTC Desire E-Mail Setup
- Google Settings HTC Desire
- HTC Desire Internet Settings
- HTC Desire Text Recognition
- Display HTC Desire
- HTC Desire beats the iPhone in Bootup
- T-Mobile Logo on the HTC Desire
- Booting Up the HTC
- HTC Desire Back
- HTC Desire Back Opened
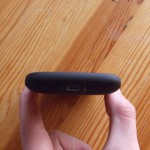
- HTC Desire Bottom
- HTC Desire Bottom
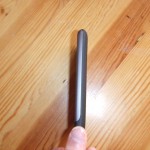
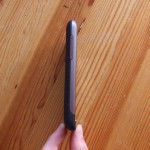
- HTC Desire Right Side
- HTC Desire Left Side
- HTC Back Cover
- HTC Desire Front
- HTC Desire Front Packed
- Power Supply
- Headphone
- Parts without Package
- Opened Package
- HTC Desire Package Back
- HTC Desire Package Front
- HTC Desire Packaging
